Showing posts with label greener home. Show all posts

Wednesday, March 26, 2014

diy post! prettify your stupid old knife block!

it's that time again!  another DIY post.  awesome husband @_antgas and i got married about nine and a half years ago.  ten years ago this spring/summer, we were getting our bridal shower gifts.  i registered for my first set of knives, and they've served me pretty well.  a set of calphalon knives with a useless sharpener and one of those big forks you only use when carving meat.  which i never do any more.  but still.  

it's definitely seen better days.  it has little chips and marks where i stabbed it unceremoniously trying to place a knife back in it's little home slot.  it's been exposed to water and oil and yuck.  while perusing the interwebz looking for ideas for a craft party i'm hosting (yup, that's happening too) i came across painted or refinished or decorated knife blocks.  DING! went the bell in my head.  i can do that and make it SO BRIGHT to fit in my ridiculously colored kitchen.  i made a list of crap i needed and had awesome husband @_antgas on hand for elbow grease (well, hand grease because my hands aren't doing so well) and off i went....


so first i had @_antgas remove this little metal plate thingy on the front of the knife block.  we realized we'd need wood filler for the screw hole thingies, along with sand paper, spray paint, and clear polyurethane.  so off to the craft stores we went... (now i know that i can get the paints cheaper at the home depot or lowes.  which i'll do if i ever spray paint craft again.  which i probably will because it was fun and easy).


you will need:
  1. your old knife block.  or someone's old knife block, preferably with their permission.  or thrift one.  
  2. wood filler if you have teensy holes to fill in.  some people online used spackle too, but i wanted to get wood filler because we have another potential project in mind that will require wood filler.
  3. whatever color spray paint you're interested in using.  i like krylon - we've used it before and have always had good results with it.
  4. clear polyurethane to help seal it and protect it from water and other damage.
  5. sandpaper - we got a packet at the craft store that had three grades.  i threw out the packet, but i think it hat 60, 100, and 150 from roughest to finest.


so this is what my newly cleaned and naked knife block looked like after awesome husband @_antgas removed the calphalon plate on the front.  i wiped it down with a mild solution of water and vinegar to remove all the grease and dirt and whatnot.  


i smushed a bunch of wood filler in the holes and smoothed it as best as i could.  wait until it's safe to sand and paint - the info for that should be on the packaging of whatever wood filler you choose.


sand the entire thing down, starting with the roughest sandpaper.  the 60 grade was perfect for getting off whatever old sealer stuff was on there and helped smooth out the area where the metal plate was.  because my hands and fingers were not cooperating this day, i had @_antgas help sand it all down.  we sanded all the areas we planned to paint and paid special attention to the rounded edges.  i wiped it down with a damp rag between each grade of sand paper to get rid of all the dust.


all sanded down and ready to go!  run your hands over all of it to make sure there aren't any rough spots, hard edges, whatever.  it should be nice and smooth.  be sure it's free of dust before you paint.

at this point you can prime.  if you have a darker wood or are painting with a light color, priming would be a good idea.  you can buy a spray primer or use a canned primer.  if you use a canned one, i'd apply it with a sponge brush.  after priming you may want to sand it a little more to make sure the brush strokes are not obvious.


set your shit up outside.  spray paint smells A LOT and can be super bad for your lungs.  if you have a well-ventilated garage, feel free to paint in there.  we set up some old magazine stuff on the patio and spray painted out there. i may or may not have gotten a bit of orange on the patio.  i'm sure it will come off..... eventually.

a few things about spray paint:  don't do it when it's too cold or too hot.  don't do it when it's super humid.  this can cause the paint to run or not dry/cure properly.  hold the can 6-8 inches from the item and use short, sweeping motions.  all of this crap is listed right on the back of your can, so, you know.  read it.  i didn't worry too much about spraying IN the slots or holes; you won't see that.  and we didn't paint the bottom for the same (obvious) reason.

read your polyurethane too and make sure the paint is dry enough to seal.  do the same thing - outside, well-ventilated, sweeping motions, etc.

i let mine sit for two days before putting anything back in it to make sure it was cured enough that the knife handles sitting on the wood face wouldn't damage or nick or imprint or anything.


then just this morning, i put all my sharp things back in my knife block and put it back in its home on the counter.  and i love it!  it's so bright and looks great.  the color is krylon bauhaus gold.  it's orange yellow, not too orange but not straight yellow.


i love having bright colors.  i have a yellow mini keurig, poppy red paper towel holder, a red kitchen aid stand mixer, and now this.  i'm already planning on replacing my old and worn toaster oven with something spectacular.

some of the other tutorials i saw online had people putting little decorations or monograms or designs on the knife block.  i couldn't really find a stencil i liked and i didn't want to put something 3d on it.  i figure if i come across something i would like to stencil on, i can do it whenever and just put another coat of polyurethane on it.

if you have done this or do it, share!  let us know how it came out and if you have any other tips or tricks on upcycling stuff from the kitchen.
Sunday, February 23, 2014

diy natural laundry soap

yes!  diy time again!  i've been making my own laundry soap for over a year now.  it's biodegradable, nasty chemical free, and good for my sensitive skin.  we also stopped using fabric softener or dryer sheets for some time - all they do is coat your clothes with chemicals.  white vinegar makes a nice softener - just put it in the rinse cycle.  static cling has been an issue.  some people swear by tin foil balls in the dryer, but that doesn't seem okay to me.  the wool dryer balls i made really do help, but they don't eliminate all the static.  i just purchased seventh generation dryer sheets that are all natural and whatnot.  i'm going to try cutting them in thirds to see if that helps.

the one thing that really ruins my all natural laundry smorgasbord is awesome husband @_antgas and his love of the smell of gain.  i buy those gain scent boosters when they go on sale and sprinkle some in with the sheets and towels.  i don't love the ingredients, but it's not as bad as the way we used to do laundry.  and it's a lot cheaper!  i use a 40oz canister to hold my laundry detergent.  i'm not good at measuring or counting.  so there.


so here's the breakdown for how much this shit costs me:
1 bar of dr. bronner's soap (i use almond): $4.09
arm & hammer washing soda, 55oz: $3.69 (only .067¢ an ounce)
borax, 76oz: $4.49 (it's in the big container.  i threw out the box.  it costs .059¢ an ounce)
oxybrite 32oz: $5.99 (.187¢ an ounce)


oxybrite is basically all natural oxy clean.  i've found it at natural/health food stores and some walgreens carry it.  borax and washing soda will be on the bottom shelf in the laundry aisle.  you can use any castile soap you like - nothing too perfumey or filled with chemicals or moisturizers, like don't use dove.


1.  grate your soap.  if you use the smaller, finer side of the grater, it will take FOREVER OMG SERIOUSLY FOREVER.  i use the larger side (the side we use for cheese) and it makes adorable little soap curls...


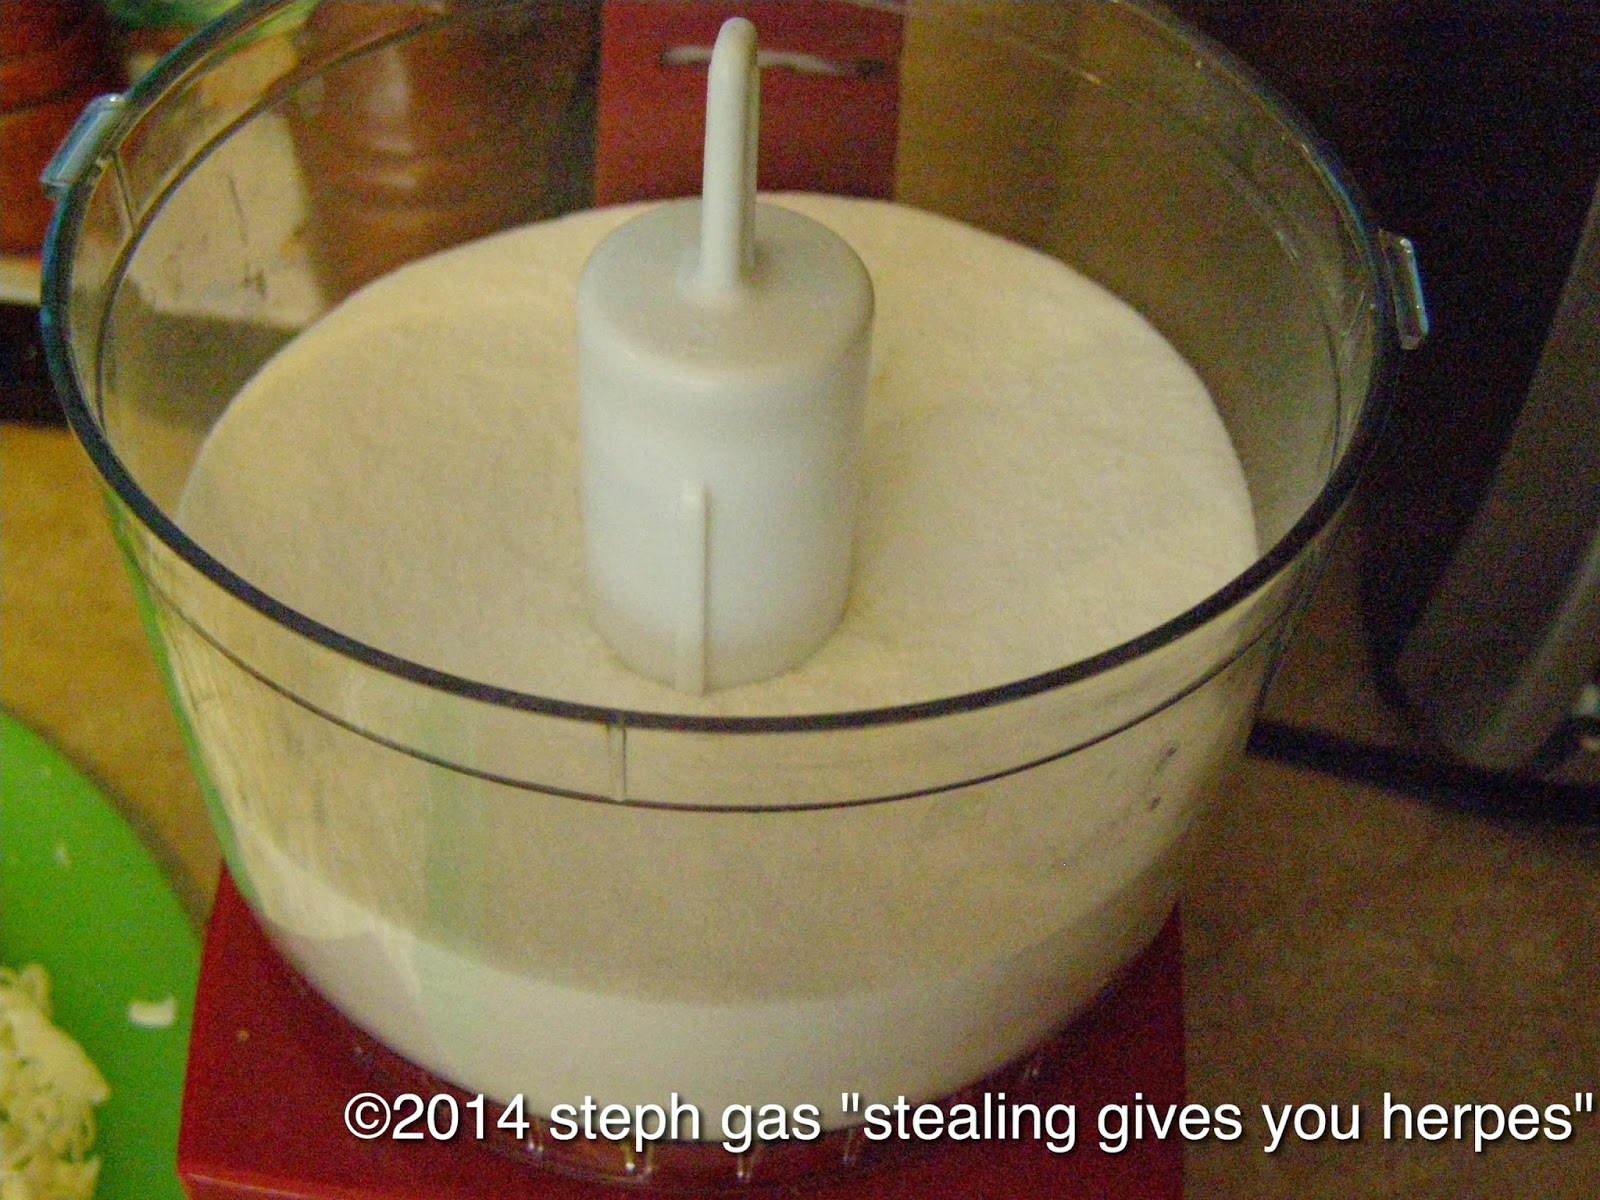
2.  get a food processor.  if you don't use one, the soap will not get to a powdery consistency and may not dissolve well in warm/cold water washes.  


3.  i put in 1/2 cup of soap curls, 1/2 cup of borax, and 1/2 cup of washing soap.  if you're using oxybrite, add a scoop to each batch in the food processor.  i don't smush the soap curls in either, i loosely fill the cup.  don't pack them in like you're measuring brown sugar.  if you're keeping track, i have about a cup and a half of dry ingredients in here.  i have a teensy cuisinart; if you have a larger one, you can probably put more in at a time.  ALSO feel free to add a tablespoon or two of baking soda if it makes you feel better.  it makes me feel better.


7.  pulse the heck out of it.  if you have fucking stones of borax, either crush them by hand or pick them out and throw them at people.  DO NOT try to powder the soap without washing soda or borax. they help the soap get like powdery.  without other dry ingredients, the soap will just smush up and break your blender, which is why you will have to use a food processor.  this may or may not have happened to me.  


5.  pour your powdery soapy stuff into your laundry detergent container.  repeat until you're out of soap curls.  


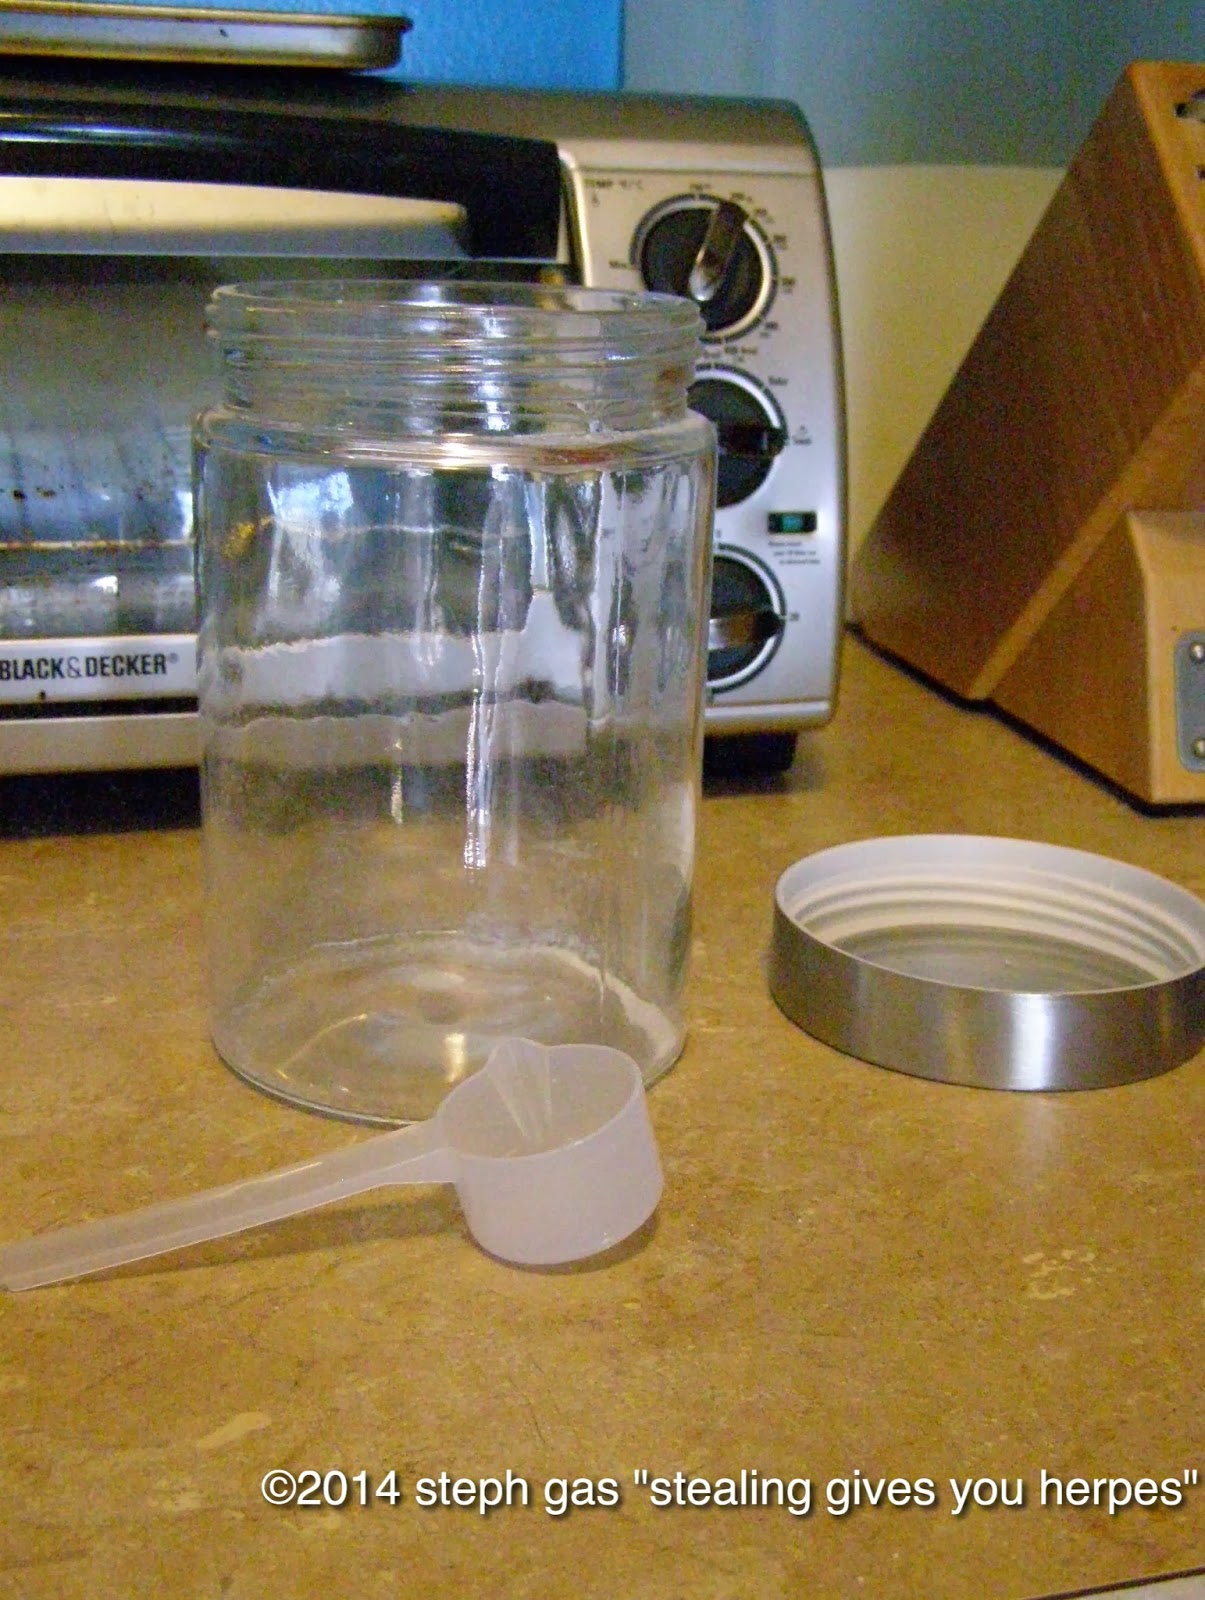
6.  TADA!  you have laundry soap.  find a scoop, buy a scoop, whatever.  i have a cute little scoop that i stole from one of @_antgas' old workout powder supplement crap things.  i use the double and triple loaders in the laundromat and use 2 tablespoons per load.  i'd estimate those are extra large loads; if you do smaller loads or have a medium-largeish home washer, you can probably use a bit less.  maybe 1.5tbsp.


now, i think i used about 14 ounces each of borax and washing soda, and maybe a 1/4 cup of oxybrite and baking soda.  like i said, i don't measure.  i'm assuming this is how much i used because it's a 40 ounce container.  so i might have used a bit less than this, but whatever.  here's the breakdown for one 40oz container of my laundry soap...

1 bar of dr. bronner's soap (i use almond): $4.09
arm & hammer washing soda, appx. 14oz: $0.94
borax, appx. 14oz: $0.83
oxybrite, appx. 2oz: $0.37

a grand total of $6.23!  two tablespoons is about an ounce, so you should be able to do around 40 loads of laundry with this.  that works out to 16¢ a load!!  i know you can get tide or all or whatever on sale and spend about 20¢ a load - doesn't seem like a great savings, right?  BUT IT'S ALL NATURAL.  it's safe for HE machines, it doesn't have a fuckton of chemicals, it's safe for septic systems and the water table, and works well on @_antgas' mechanic dirty clothes.  does it take out all the diesel fuel stains and shit?  no, but neither did ANY of the other detergents we've used.

so there you have it.  my natural, easy to make laundry soap.  it takes me about 20 minutes to make from start to finish.  it makes me feel better about what's soaking into our clothes, what's draining into the water supply, and doesn't make my clothes smell funny or itch or anything like that. you can find tons of different recipes for laundry soap.  some call for different types of soap, like fels naptha laundry soap.  it's supposed to be excellent on grease stains, but it contains animal fats so i don't use it.  some recipes call for one bar of soap and only one cup each of borax and washing soda.  some call for two parts EACH of borax and washing soda to one part bar soap.  this is the recipe i've been using and i love it.

it will not make suds.  like not at all.  if you've ever washed with dr. bronner's or other natural castile soaps, you may be familiar with the low sudsing of these soaps.  that's what makes this safe for HE machines - low suds.  i do all of our laundry at a laundromat and never see suds in our wash.  and if you're wondering about white vinegar in the rinse cycle as a softener, it does help.  it helps rinse out any residual soap in the clothes.  and it's so cheap.  i use white vinegar for everything now - fabric softener/rinse aid in the laundry, rinse aid in the dishwasher, household cleaning, clearing slow drains (when mixed with baking soda).  it's natural, it's easy, and it's cheap.

let me know if you try my laundry soap, and let me know what you think!

Saturday, October 26, 2013

satur-interesting-day

today has been an interesting day.

i woke up early to drive awesome husband @_antgas to the airport.  he's in florida for a couple of days.  my brother and sister-from-another-mister are on a family vacation there (with her family).  i had a bucketful of jetblue points and halloween horror nights are going on at universal studios.  i hate scary things, but the three of them love shit like that.  so being the best wife EVER, i sent him to florida to go to the gym with his friend, smoke a cigar, and spend tomorrow at universal studios.  he'll get to go to harry potterville and drink butterbeer (damn him), see the new simpsons area, and spend the night getting scared.  the themes this year are 'the walking dead', 'the cabin in the woods', and 'evil dead'.

that's important.  'evil dead' is his like favorite movie.  and he loves 'the walking dead'.  and he made me watch 'the cabin in the woods' the other night and now i get why he liked it so much.  but seriously, 'evil dead'?  that's really what it's all about.  @_antgas loves it, loves it, loves it.

so after waking at the ass crack of dawn (actually, it was before dawn) and getting my vanilla soy latte on, i dropped @_antgas at the airport and turned around.  i also made my best time yet from queens county to my house waaay out in suffolk county.  i spent the morning cleaning at a leisurely pace.  i dusted the bedroom and living room.  i vacuumed the carpets and the couch and the cat beds.  i washed the kitchen and bathroom, including floors.  i cleaned the litter boxes and changed the towels.

i also made my first bottle of homemade all-purpose cleaner.  i used an empty spray bottle and filled it half with white vinegar and half water.  then i added like 40 drops of tea tree essential oil.  the vinegar smell fades and the tea tree is antibacterial, antimicrobial, and all around cleansing.

what did i not do today?  shave.

i'm married (read: have no one to impress) so i really only shave my legs once a week.  my hair is very fine, so even my stubble isn't like, really stubbly.  but i shave every friday or saturday (underarms are shaved as-needed).  the other day, i checked my under arms and they didn't look like the needed to be shaved.  i thought that was strange but whatever.

so yesterday i went to the city to work with dad and showered at like 5fuckingAM.  so no shaving done then.  but i realized that my leg hair was not growing.  i even had @_antgas feel my leg for stubble - nothing there.  which means that in eight days, i haven't grown any leg hair.  and i checked my under arms again, really checked.... nothing there, either.

i started researching why chemo drugs (like the methotrexate i'm on) make you lose your hair.  it's not that they make you lose your hair - your hair stops growing.  methotrexate stops certain types of cells from splitting and regenerating and whatnot (like ho cancer grows).  hair also grows like that.  so methotrexate stops your hair cells from splitting and growing.  when a strand of hair falls out of your head, it's falling out of the hair follicle.  methotrexate stops a new hair from forming and growing in that follicle.

so your hair doesn't fall out from chemo.  your hair falls out naturally (we all lose like a thousand hairs a day).  on chemo drugs, your hair doesn't grow and replace those fallen-out-hairs.

if my leg hair isn't growing, and my armpit hair isn't growing, doesn't it follow that the hair on my head is not/will not be growing?

in addition to spending some time researching that kind of shit, i spent some time freaking out and worrying and wondering and wishing that this didn't happen to me.  RA is a lot bigger than i thought it would be, and it's affecting me in more ways than i anticipated.  especially emotionally.

on top of that, i'm breaking out and nauseous more often than i care to admit.  and i'm not really hungry very often.  on one hand, that's good because maybe i'll lose some weight.  on the other hand, it's not that good because eating is important to staying healthy.

fuck.  times like this i wish i still drank.

instead, i'll take another pill or two like a good girl and go to bed to let my body rest.  tomorrow will be better.

Thursday, October 24, 2013

wool dryer balls!

i know! it's exciting!  i've been working on these for a few weeks and i think they've finally felted.

it's okay, i didn't know what 'felting' was either.  until i made wool dryer balls.

sounds strange, right?  i stopped using dryer sheets and static cling was becoming an issue with some items.  adding plastic balls (shaped like hedgehogs) helps dry clothes faster, but it's possible for chemicals to leach out.  wool dryer balls help both: they tumble around and help your clothes dry faster, and they help cut down static.  because they absorb some of the moisture and release it into the dryer, they help keep the humidity higher, which reduces static*.

*or so i'm told.  i'm not a scientist or whatever field would understand this.  it just is.

it cost me $7 to buy enough wool for six dryer balls (wool yarn was on sale!).  you can also use a secondhand sweater or afghan - be sure it's 100% wool yarn and unravel it.


it's going to be photo heavy.  mostly because there's not, like, real instructions.  so enjoy!

start with a skein of wool yarn.  or however you have your wool yarn.  it has to be wool.  i chose this multicolored wool yarn.  i think it's purdy.
wrap it around your fingers a few times, as shown.
take the yarn off your fingers and wrap some yarn around the middle, making it look like a little bow!

fold it in half or smash it together or whatever and start wrapping the yarn around to make a teensy ball.

guess what - keep wrapping.  it makes a bigger ball!  keep going and going....

apparently, cartoons are correct.  cats do like yarn.  jake was very interested in what i was doing. 
he was enjoying the yarn.  he got his fang stuck in it.  it was cute.

so this is about the size you want.  i got three balls from each skein of wool yarn.  stick the end of the yarn back in the ball, or secure it under a few strands.  whatever you want.

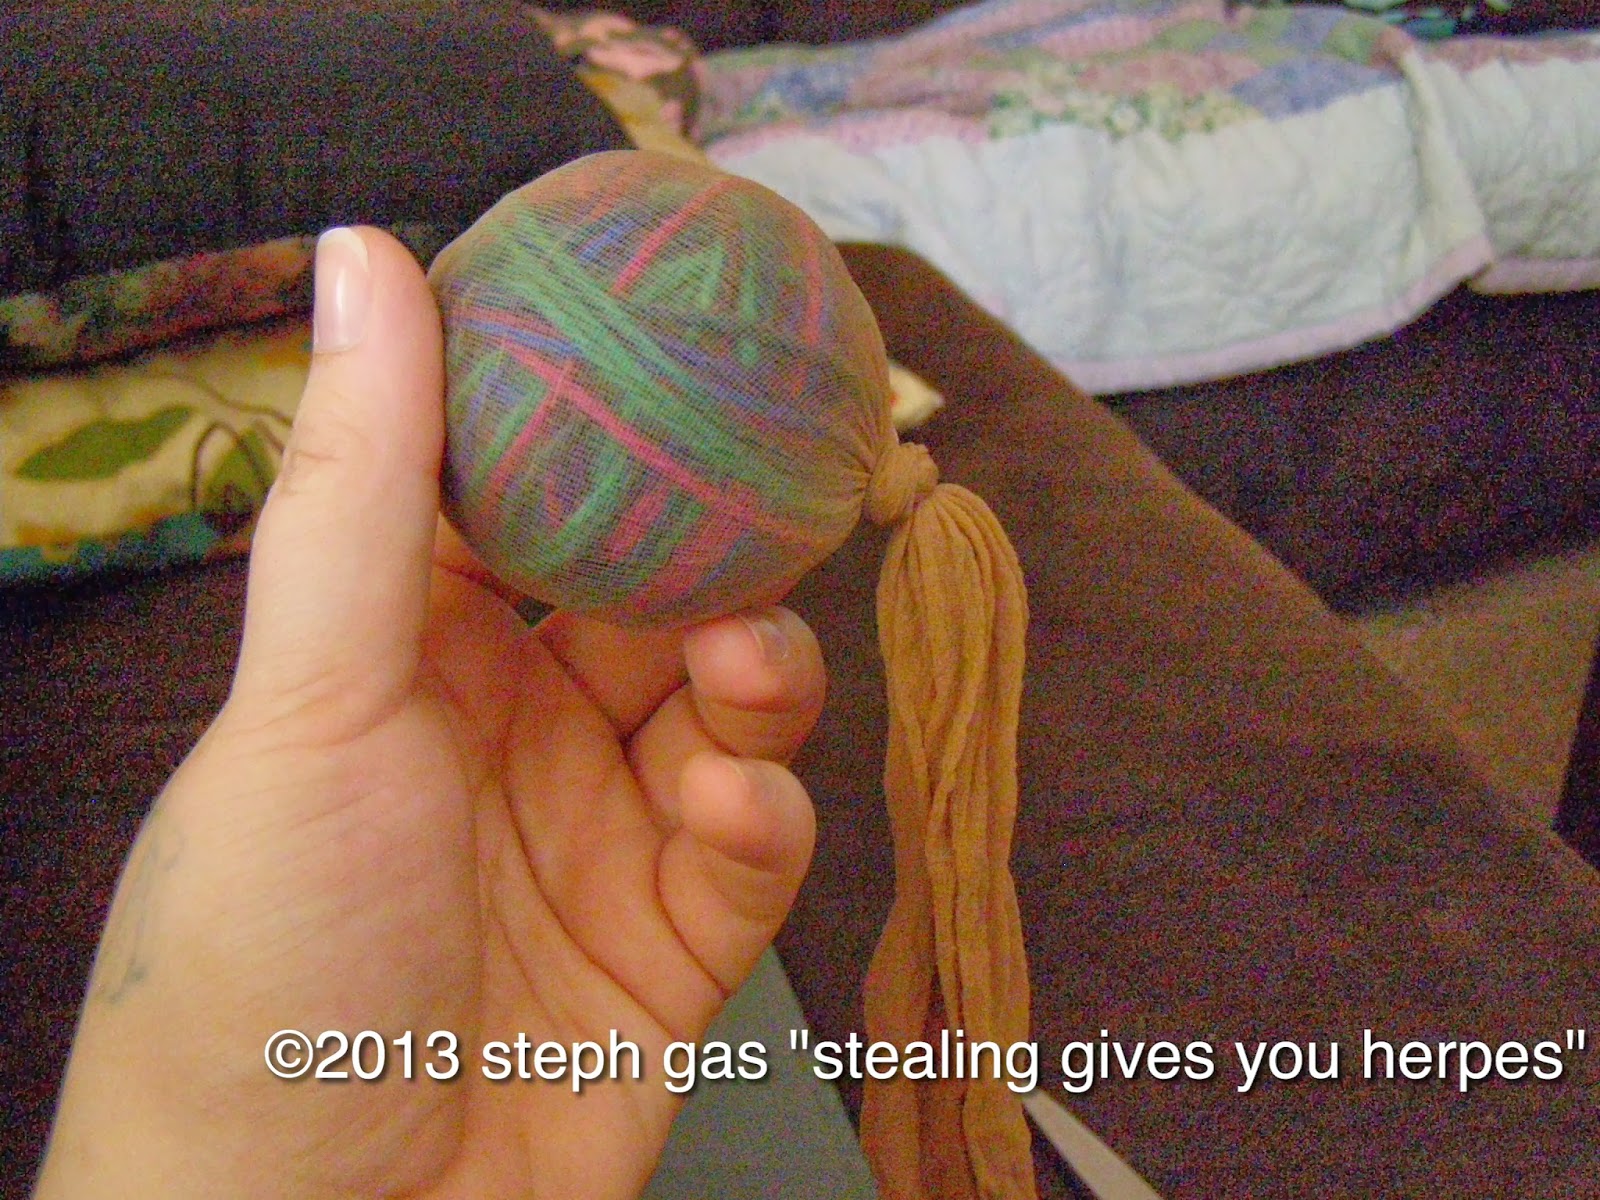
get an old knee high or the leg of an old pair of pantyhose.  put the finished ball in the toe and tie an knot.
  
 
make three more balls (or however many) and add those to the knee high/pantyhose.  tie a knot after each, so each dryer ball has its own little nylon coat.  or whatever. 
i made three dryer balls in this color too.  very fall.

so here you see all six dryer balls in my old knee high.  the knee high/pantyhose helps keep the yarn together for the next step.

continue to allow a cat to play with the wool yarn dryer balls.  jake was confused.

so at this point, you'll have your wool yarn in balls.  like a little smaller than a tennis ball, i would say.  once the balls are in their nylon coats, you're going to want to wash and dry them.

i hear you - you can't wash and dry wool!  that's the point here.  we're trying to felt the wool yarn.  wash the knee high full of wool dryer balls in HOT water (i washed with my towels and sheets) and then dry them on HIGH (dried them with my towels).

some reviews online said you only had to wash/dry them once to felt them.  felting them kind of makes the yarn melt into itself, so each strand is like attached to another strand.  it won't unravel (ideally).  and that's why each ball is in a knee high - to keep it intact and from unraveling during the felting process.

now, i didn't think they had really 'felted' after one wash.  i ended up washing them three or four times in hot water and drying them on high heat.  each strand of yarn is kind of attached to another strand, but they're not totally felted.  i have washed/dried them with clothes already, and there was no unraveling.

after three or four trips through the laundromat, i have new dryer balls!

you can still see each individual strand of yarn, but if you felt it, it feels pretty smooth.  like, if you really wanted to, you could dig your fingernail under a strand and separate it, but don't do that.  the more they are washed in water and dried in the dryer, they will felt more.

you can kind of see on this one that the strands are more melded together.  

the more i use these, the more they will felt.  online comments from other bloggers show that these can last YEARS.  if you like some scent in your dried clothes, some people add a few drops of essential oil to the wool dryer ball.  i'm not doing that because i have scent added to my HOMEMADE LAUNDRY SOAP!  which you'll learn about soon enough.  it's almost time to make another batch.

so now you can stop using dryer sheets.  they do nothing but coat your clothing with chemicals, coat the inside of your dryer, and fill landfills.  these are economical and green and fun.  now, i still have a little static with some poly-blends, but i've taken to line drying most of them (i don't have a lot of stuff like that).  oh, and instead of using fabric softener - vinegar.  i just dump in about 1/8 of a cup of white vinegar into the softener compartment for each load.  it helps rinse out the soap and other contaminants and, if you own your washing machine, it will help keep it clean and fresh.  and your clothes will not smell at all like vinegar.

let me know if you make them and if you love them! and please, feel free to pin the hell out of any of my DIY or recipes.  follow me on pinterest!  i'm on tumblr now, too.  i haven't added buttons about that yet.  because.  i just haven't.